How To Make a Strongman Log
When it comes to training for strongman technique is critical! There's only so much that brute force strength can do for you with implements that you've never seen before. You can try to replicate the movements as close as possible in the gym, but eventually if you want to move up the ranks then you need to invest in buying or building some strongman equipment. It can be difficult or expensive to find someone who sells or is willing to make strongman tools. Here in Ontario there are a couple of resources available, but logs are very popular and tend to sell out quickly or be unavailable. Therefore I decided to make my own classic strongman log! If made correctly and taken care of a wooden log should be almost as durable as a steel log.
Since originally publishing this blog post, I’ve gone and made improvements to the design that you can read in Part 2 after going through this post.
Click here to read part two of this in-depth guide to making your own strongman log.
If I can do it, so can you!

Perform your best at your next strongman competition with this free eBook:
Constructing a wooden strongman log can be time consuming. I started mine on Tuesday and finished it Saturday, working several hours each day on it. However, I have little experience with wood carving and by the time I got the hang of it, I was moving at a much faster pace. Chiseling the first handle out took Tuesday, Wednesday and part of Thursday, but the second handle only took a few hours Thursday afternoon.
I did have some great help from my dad and brother though and if you have a buddy helping you this will go a lot quicker and smoother. I would advise you to have someone around just for safety purposes anyways, since you'll be handling a chainsaw and doing some risky things with it.
I'm sure there are easier ways to do this if you know someone who's into wood carving or skilled at woodworking, but this is how I did it.
What you'll need:
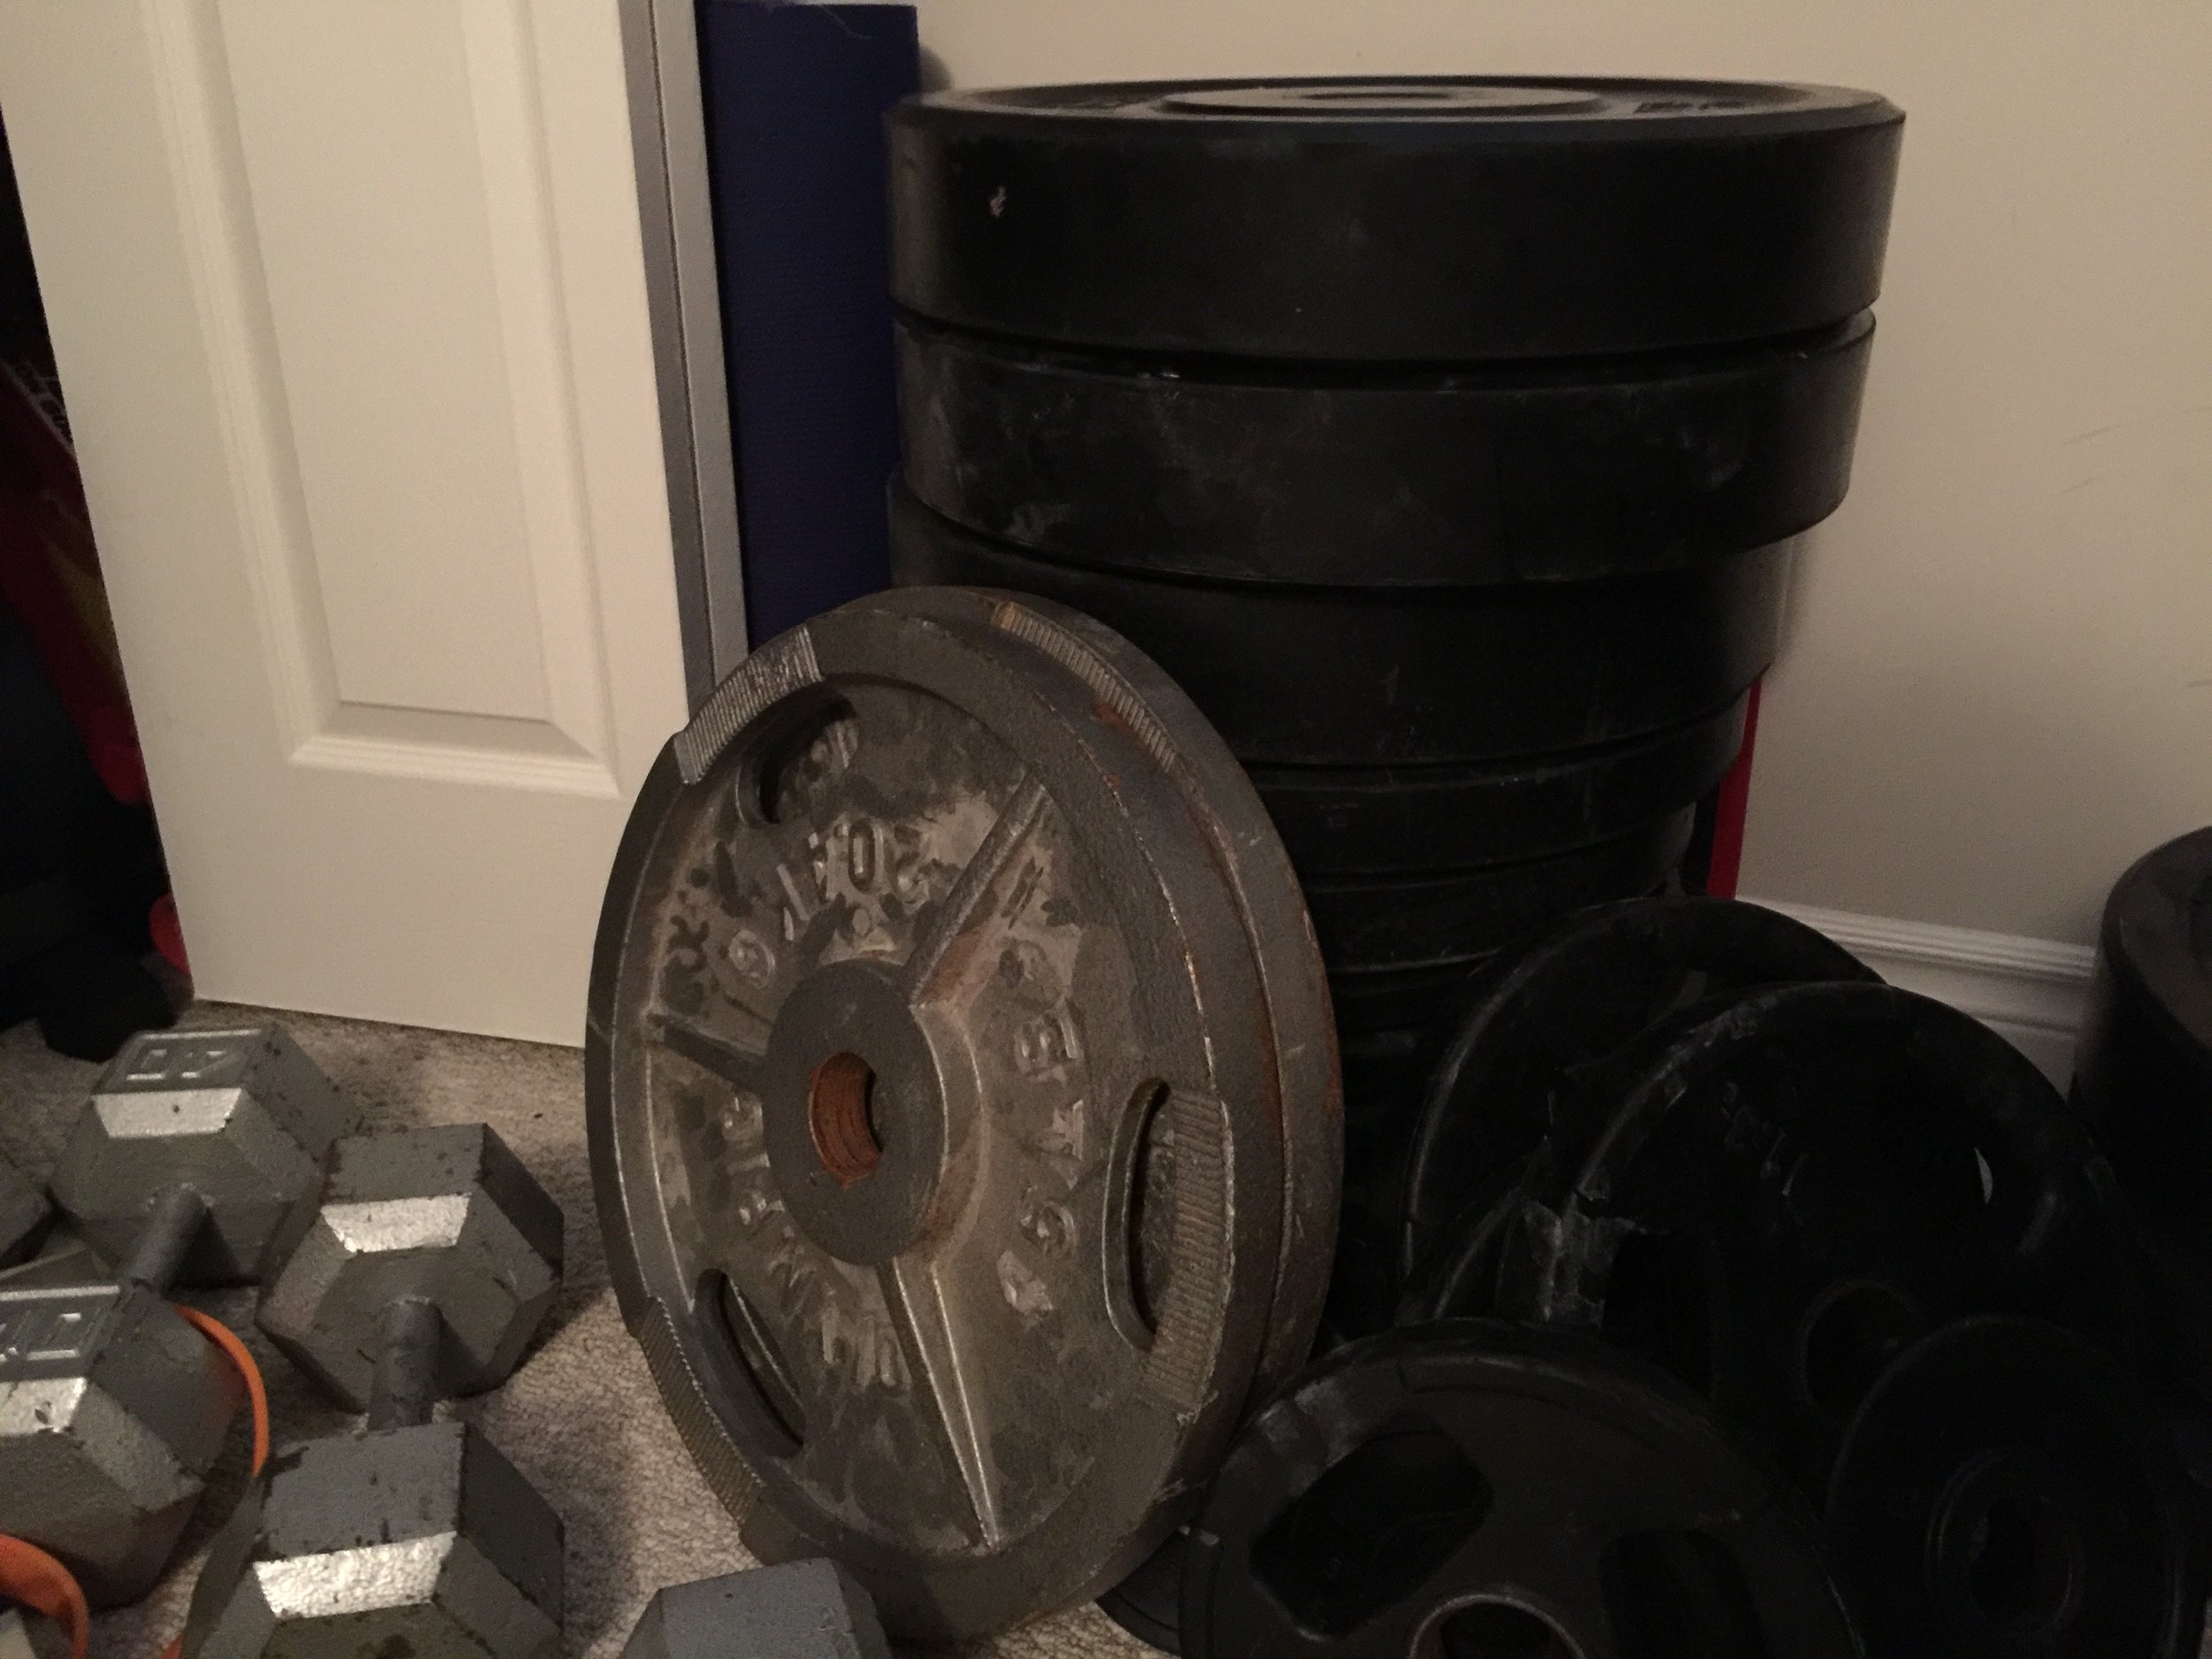
1 wooden log, 10-12'' in diameter and 5-6 feet long. (I had an old hydro pole made of cedar in my driveway which is what I finally decided to make use of, but if you don't have something on hand you'll have to go to a lumber yard and purchase one. At a length of 5 1/2 feet mine weighed 100 lbs. If you're getting a fresh log from the lumber yard it will still be full of water and will probably weigh about 300 lbs. It takes a long time to dehydrate a log, so you'll probably have to pay to also get the log dried in a drying room and this takes about a week).
1 Chainsaw -capable of doing plunge cuts with the tip of the blade - (We actually just used a regular chainsaw and it seemed to work just fine. I also used a smaller electric chainsaw when carving out the handles
Tape Measure, Level, Marker and 90 degree square edge (your best friends)
1 Hammer and a set of chisels
Drill with a 1'' spade drill bit (If you have a 12'' bit that's awesome! Mine was only about 6'' so I had to drill multiple times)
5-6 feet of 1'' rod (You'll need 10-12'' for each handle, and 18-24'' for each of the weight bearing rods at the end of the log. Ideally you'd get a solid rod similar to a barbell, but the best thing I could find at my Home Depot was a 3/4'' inside diameter black iron rod in the plumbing section. It's thick and the outside diameter is 1'' exactly. I'm fairly confident that at this rod will hold up against whatever weight I use).
At least 15' of 1/2'' rope (This will absorb impact and protect the log from breaking when dropped. I'm pretty sure I used a lot more than this on my log, probably over 20' per side, but I had a 200' rope free to use, so I just wrapped the log until it looked good, about 9 times per side).

Glue or Resin to bond the rope to the log (I used something called Weldbond that I thought looked good and it ended up working really well)
Other Handy Things to have around:
Hacksaw
Tape or Rope (while the glue sets)
Sledge hammer
Boombox or MP3 player loaded with podcasts or your favourite music (you'll be at this a while)
Safety goggles (Holy flying wood chips Batman!)
Making a Strongman Log
Measure out your length of log and cut it with the chainsaw. Try to get the cuts pretty straight, so you might have to shave the ends a bit to do this. Have someone hold the log to rotate it as you get close to the ground if the log is on the ground and keep it steady as you power through it.
Find the pivot point of the log. I had a metal beam my brother used to skateboard on, so I used that. Place the log on it about midway and adjust it until it balances on it's own, like magic! Mark this point on the log, everything revolves around this point!
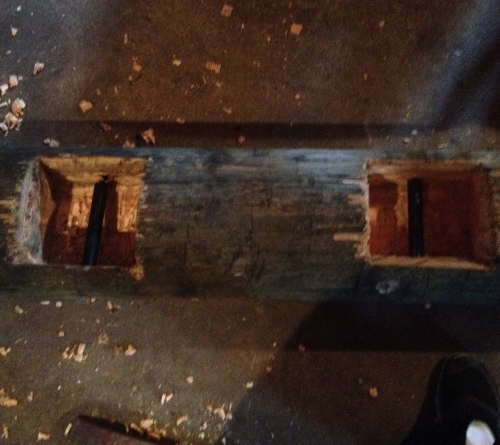
Measure 12'' both ways from the centre point. This is where the handles and the boxes for the handles will be centered.
Measure an 8'' X 8'' box around your handle centre points
Using the chainsaw, electrical chainsaw, or a skill saw for now cut straight down along the lines you created for your box. We used the skill saw, but it only works for the first cut.

Start chiseling, using your hammer and chisel. To get started you'll want to chisel with the grain of the wood, but once you get in to it I found that going against the grain was much more efficient.
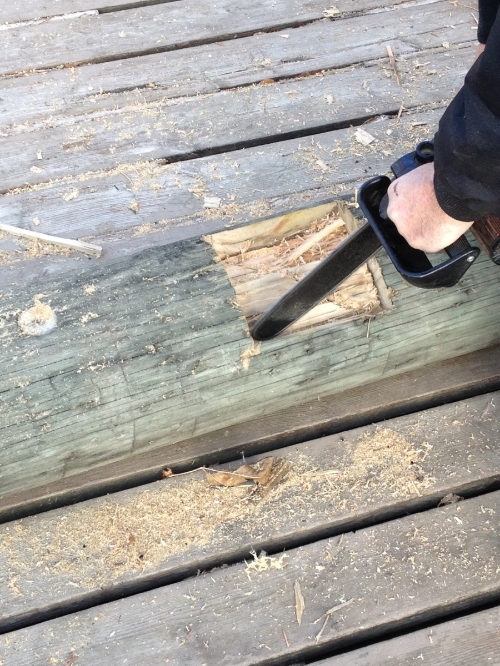
Alternate using the chainsaw to cut down the edges of your handle box and using the hammer and chisel to clean out the middle of the box.

You'll want to go about 2 inches past the centre of the log. You'll know where this is by looking at the rings in the tree. My log was 10 1/2'' and I went down to just past 7 ''. If you don't go far enough past half you won't get your hands under the rod once you put it in at 90 degrees to your box. Take the time to do this step now. Don't get excited like me and not chisel down enough before putting the handle in, it's much harder to try to chisel around the handle!
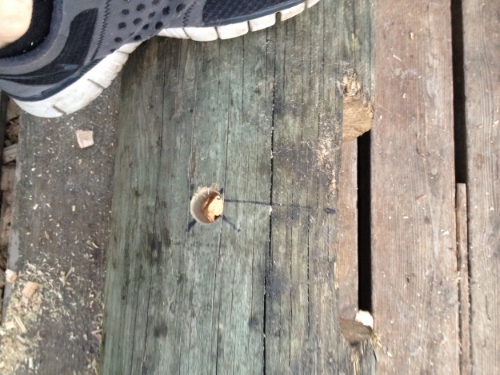
Drill your handle at 90 degrees to your box. Here's how I did it. Measuring from the centre of your box (4'' along the side, do this both ways since you'll need it) mark this point and use your level to mark it at the end of your log, if your level is long enough. Then looking at the end of your log follow this mark to the centre of the log (where the rings converge). Take your square edge and follow it to the right angle both ways from the box and mark these points. Now, looking at the side of your log follow your 90 degree mark with your level back to the centre of the handle box, which you marked earlier. Draw a couple of straight lines and the intersection will be where you need to drill your hole straight into the log.
There's probably an easier way to do this, or a better way, but I thought this was pretty accurate from the way my log turned out. You might notice in the pictures that my handles didn't end up perfectly straight, which I don't notice when lifting, but may have helped to keep the rods in place, since I had to force them into place.

Drill the holes for your weight bearing rods at least 6'' into the log, so that they will be stable and won't come out. For these holes I just drilled right into the heart of the tree, where the rings in the tree converge.

Next you'll hammer the handles into place. This is where you want to make sure your handles aren't too long, because mine we a little long and then they ended up splintering some of the log at the exit point. I used a hacksaw to cut off the extra bit of rod. This might not be a very good option if you have a solid 1'' rod. Just get mad at it and saw with the might of a viking! If your handles look like they aren't going to hit the other side perfectly straight, have your buddy use a pry bar while you continue to hammer the handle into place.
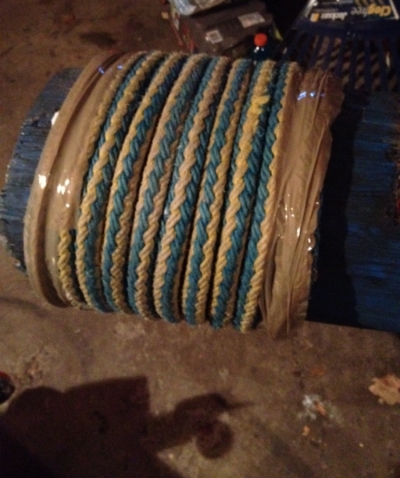

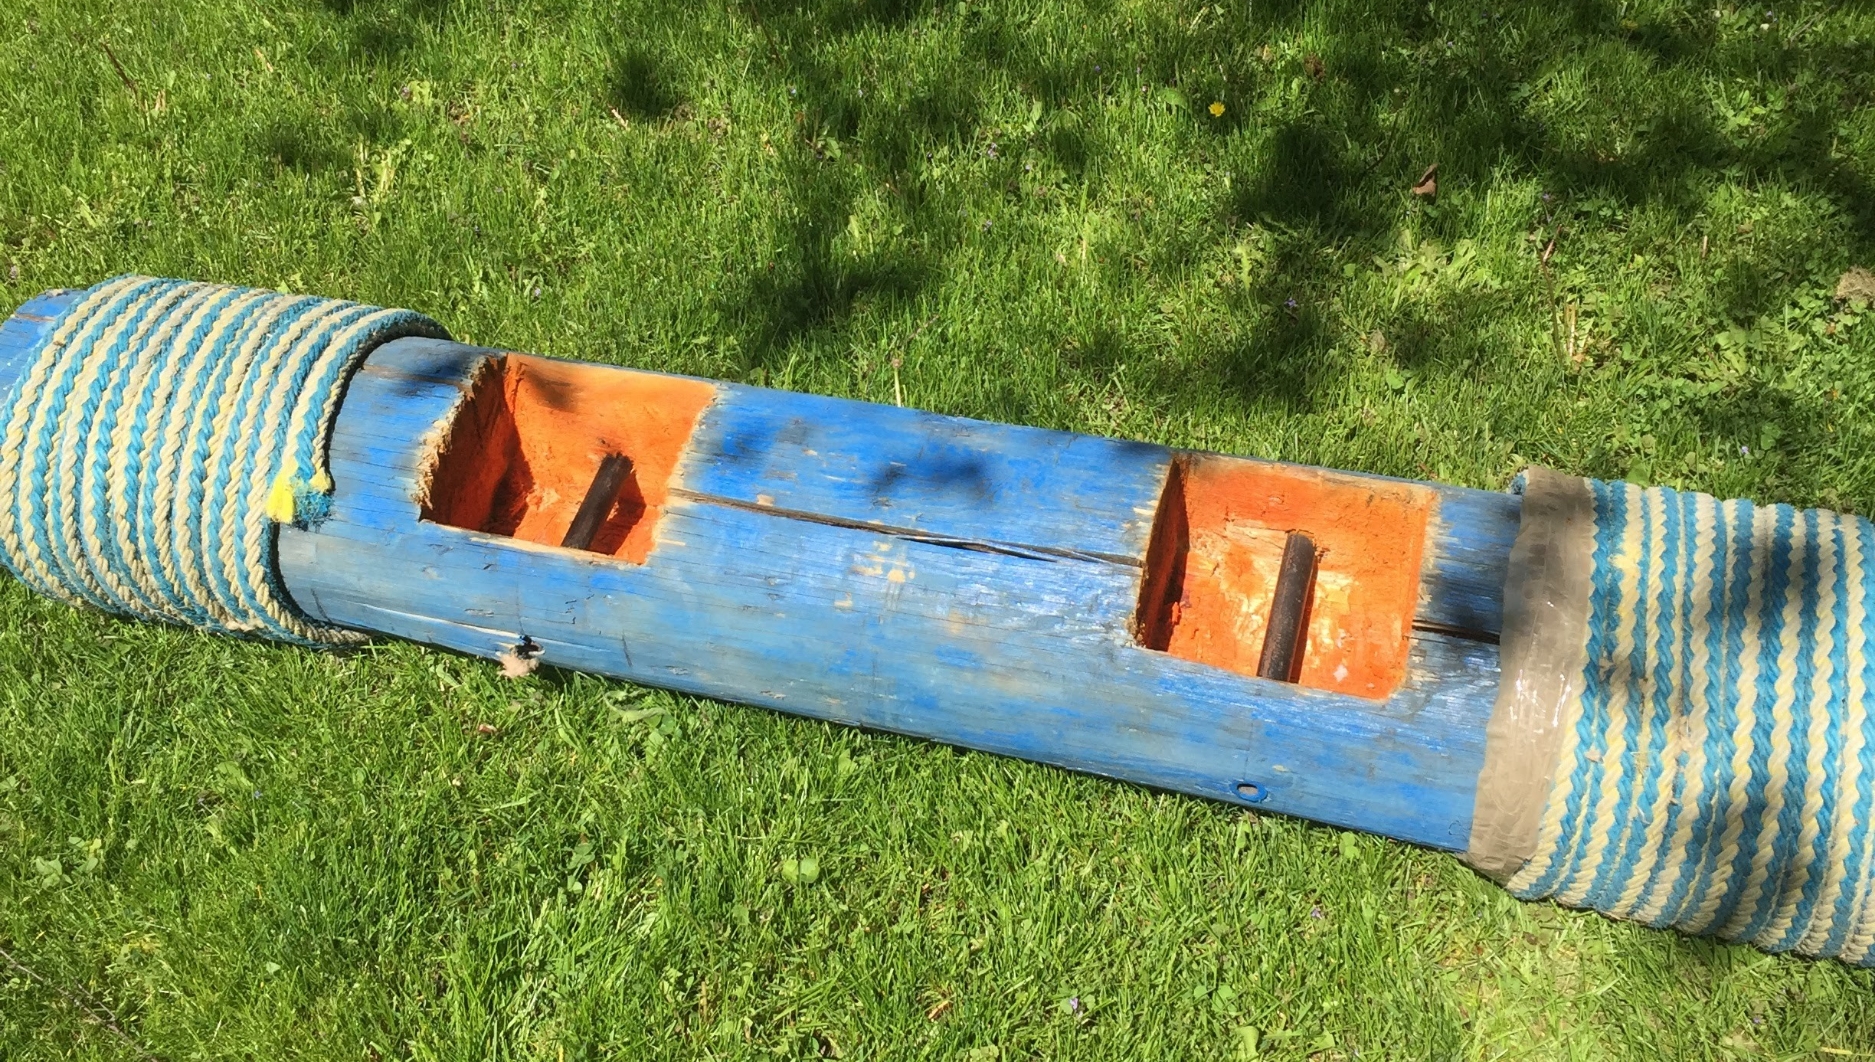
Cut the length of rope you need. You'll want 2 people for this part. Spread the glue over the area you are wrapping the rope with. Wrap the rope tightly around the log. Put some glue over the ends of the rope and hold on to it while your buddy tapes the ends to hold them in place while the glue dries. I was going to use shrink wrap instead of the ugly brown tape, but I couldn't find it. The Weldbond glue took overnight to dry, as you can see in the picture to the right above it was still white, but it goes clear when it has bonded and dried and this glue really worked well so far.
You'll also notice that I painted the log before I put the rope on. This is totally optional, but you get extra bad ass points for doing it.
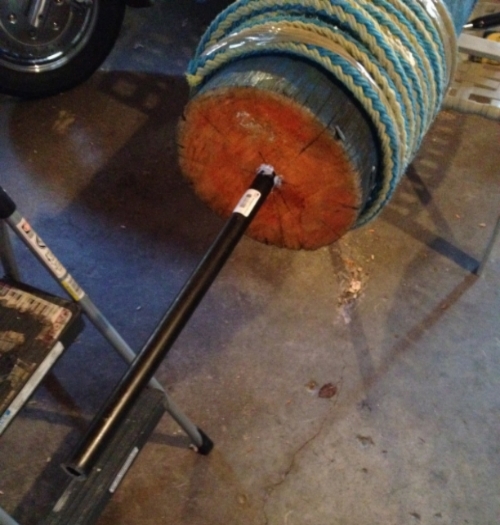
Hammer or sledge hammer the weight bearing rods after your rope has been glued on. My weight plates have a very small hole in them, so I actually had to hacksaw the ends off of my end rods after hammering them, because they got smushed outwards a bit by the hammering. You might not have to remedy this, but if you do one other option would be to hammer into a piece of wood held against the end of the rod, so that the impact isn't directly on the log.

That's it! Now you've got your own strongman log to play with in your backyard. Enjoy!
If you found this post helpful and informative, please click the links below to like and share it with your strongman friends! Also be sure to click the links below to follow this blog and stay up to date on my facebook page and other social media.
*There is an update to this article with things I would have done differently after a few years now available if you want to read it here*
Fortissimus